

Key Takeaways
Why Baseline Moisture Testing Comes First
A basement finish is an investment that can be undone quickly by water. Before ordering materials or calling a framer, spend at least two to four weeks observing your basement through different weather conditions. Look for efflorescence (white mineral deposits on concrete), staining at the base of walls, musty odors, and any visible seepage after heavy rain.
A simple do-it-yourself test helps distinguish between condensation and true water intrusion: tape a 12-by-12-inch piece of plastic sheeting to the concrete wall and floor, seal all four edges with tape, and check it after 48 hours. Moisture on the room-facing side indicates condensation from interior humidity; moisture between the plastic and the concrete points to water migrating through the wall itself - a more serious condition that typically requires exterior waterproofing or drainage improvements before finishing begins.
Addressing air leaks elsewhere in the house can also reduce basement humidity load. See our guide to sealing air leaks for practical ways to tighten the building envelope first.
Start With a Dry-Season Baseline
Conduct your moisture testing during a wet period of the year, not the driest month. A basement that appears dry in August may show significant seepage in March. Observing through at least one major rain event gives you a more accurate picture of actual conditions.
Understanding Egress Requirements
The International Residential Code (IRC) - adopted in some form by most U.S. jurisdictions - requires that every habitable sleeping room below grade have at least one egress window or door. The minimum opening size is typically 5.7 square feet, with a minimum net clear opening height of 24 inches and a minimum clear width of 20 inches. The window sill must be no more than 44 inches from the finished floor.
If you plan to call a room a bedroom - even informally - egress is not optional. Cutting an egress opening through a concrete or block foundation wall is structural work. It requires an engineer's assessment in many cases, and always requires a permit. Window wells must also comply with depth and drainage requirements so occupants can safely exit during an emergency.
Egress Is a Life-Safety Requirement
An egress window is not a stylistic upgrade - it is a code-mandated emergency exit. No jurisdiction allows a basement bedroom without a compliant egress opening. Failing to install one can result in failed inspections, required demolition, and potential liability if the space is rented or sold.
Local codes may have stricter requirements than the IRC baseline. Always verify egress dimensions with your local building department before purchasing windows or beginning any cutting.
Insulation and Vapor Control Below Grade
Basement insulation strategy differs meaningfully from above-grade walls. Concrete and masonry are moisture-permeable, so the wrong vapor retarder in the wrong position can trap moisture and promote mold growth inside the wall assembly.
In most U.S. climate zones, rigid foam insulation installed directly against the concrete - either on the interior or exterior - is the recommended approach. Rigid foam acts as both insulation and a capillary break. Fiberglass batts placed against concrete without a foam thermal break are generally not recommended because they can accumulate condensation.
Vapor retarder placement depends on your climate zone. In cold climates, the vapor retarder typically belongs on the warm-in-winter side of the assembly (toward the interior). In mixed-humid climates, a smart vapor retarder that adjusts permeability with seasonal humidity shifts is often a better choice. Your local building department or an energy consultant can confirm the appropriate strategy for your region. For related principles on vapor management, our attic insulation walkthrough covers R-values and moisture barriers in accessible terms.
Framing, Electrical, and Mechanical Rough-In
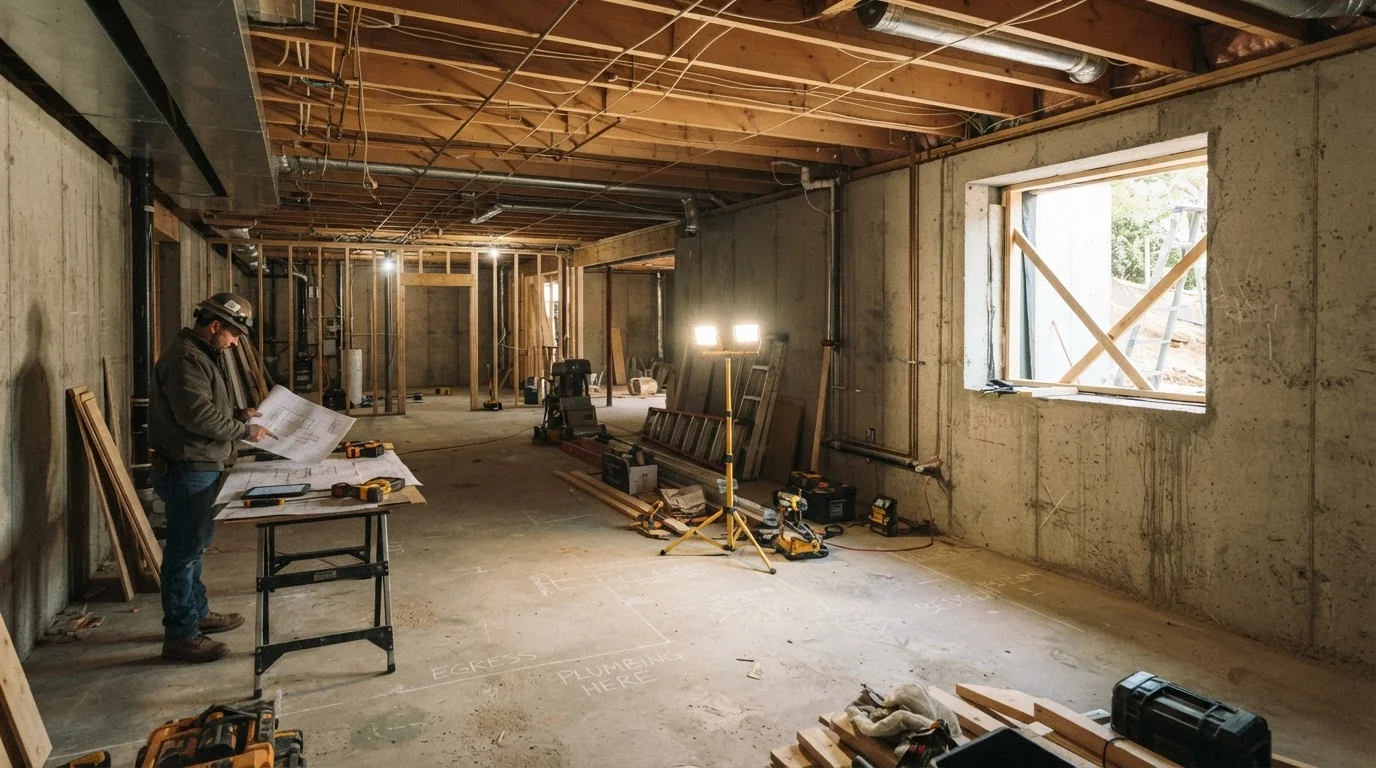
Once moisture and insulation strategies are settled, framing creates the interior wall structure. Pressure-treated lumber is generally required for any plate that contacts concrete. Walls are typically framed a half-inch to an inch away from the foundation wall to allow for any minor irregularities and to avoid trapping moisture.
Rough-in for electrical, plumbing, and HVAC must happen before drywall. This sequencing is non-negotiable: walls must be open for inspectors to verify that wiring, pipe, and duct work meets code. Basement electrical circuits commonly include dedicated circuits for a bathroom, laundry area, and general outlets - each with its own amperage and breaker requirements. Any basement bathroom also needs a properly sized exhaust fan; the bathroom ventilation guide explains how to size fans correctly for the space.
Before finalizing your framing layout, mark every beam, column, and mechanical chase on a simple floor plan sketch. This prevents expensive framing changes when ductwork or a support column ends up exactly where a doorway was planned.
Mid-project layout conflicts are among the most common and costly mistakes in basement finishing, often requiring partial demolition of newly completed work.
Install a condensate drain line for any basement HVAC equipment during rough-in, even if the unit currently drains by gravity. Future equipment upgrades almost always require it, and adding it later means opening finished ceilings.
Planning for future mechanical needs during the open rough-in phase costs little but saves significant labor and material costs down the line.
Ceiling height deserves attention during rough-in. Ductwork and beam locations can reduce finished ceiling height significantly. Measure the lowest obstruction and plan ceiling heights before framing so you avoid costly re-routes later.
Permits, Inspections, and What to Ask Your Contractor
In virtually every U.S. jurisdiction, finishing a basement requires one or more permits: a general building permit, plus separate electrical, mechanical, and plumbing permits as applicable. Inspections typically occur at rough-in (before walls close) and at final completion.
Skipping permits creates measurable risk. Unpermitted work may need to be demolished and rebuilt to pass future inspections, and it can complicate homeowners insurance claims and real estate transactions. Our guide to renovation permits covers the process in detail and helps you understand what to verify locally.
When interviewing contractors, ask specifically: Who pulls the permits - you or them? What inspections are required, and who schedules them? How will subcontractors (electricians, plumbers) be licensed and verified? A contractor who discourages permits or offers to skip them as a cost-saving measure is a serious red flag.
This article is for general informational and educational purposes only. Building codes, permit requirements, and structural conditions vary by location and individual property. Always consult licensed professionals - including contractors, engineers, and your local building department - before beginning any basement finishing project.