

Key Takeaways
What You'll Need Before You Start
Before any insulation goes in, gather the right tools and verify the current state of your attic. A flashlight or headlamp, a tape measure, a utility knife, and safety gear (N95 respirator, safety glasses, gloves, and long sleeves) are the minimum. You'll also want a staple gun if you're installing batts, and a rake or spreader if you're working with loose-fill material.
What you will need
Check local building codes first. Many jurisdictions require permits or inspections for significant insulation work, especially if the attic has knob-and-tube wiring or asbestos-containing materials from older construction. If you find either, stop and consult a licensed professional before proceeding. This is also the moment to look at your existing insulation depth and condition - compressed, wet, or moldy insulation should be removed before new material goes in.
N95 respirator and safety glasses
Protect against airborne fibers and dust during insulation handling and installation.
Utility knife
Cuts batt insulation cleanly to fit between joists and around obstructions.
Insulation blower (rental)
Needed to install blown-in loose-fill insulation evenly across the attic floor.
Caulk gun and expanding foam
Used to seal air bypasses around penetrations before insulation is installed.
Rafter baffles
Keep soffit vents clear of insulation to maintain proper attic ventilation.
Staple gun
Secures rafter baffles and batt insulation facing to joists.
Understanding R-Values and Insulation Types
R-value is the measure of how well insulation resists heat transfer. The higher the R-value, the more effective the insulation. The U.S. Department of Energy publishes recommended R-values by climate zone - most American homes fall in zones requiring R-38 to R-60 for attic floors. Check your climate zone on the DOE's publicly available zone map before purchasing material.
The three most practical options for attic floors are:
- Fiberglass batts: Pre-cut rolls that fit between standard joist spacing. Easy for DIYers, but gaps and compression reduce effectiveness significantly.
- Blown-in fiberglass or cellulose: Loose fill blown in with a machine, conforming around obstructions. Renting the blower is typically required. Cellulose is made largely from recycled material and has a slightly higher R-value per inch than fiberglass.
- Spray foam: Higher R-value per inch and doubles as an air barrier, but it requires professional application in most scenarios. Read more about spray foam's real-world performance before deciding if it fits your project.
The Step-by-Step Process
Follow these steps in order. Skipping the air-sealing phase - Step 2 - is one of the most common and costly mistakes homeowners make. Insulation slows heat transfer; it doesn't stop air movement. Without sealing first, conditioned air will continue to escape around gaps even with new insulation above.
Inspect and measure the attic
Enter the attic carefully, walking only on joists or a board laid across them - never on the drywall ceiling below. Measure the existing insulation depth and note its condition. Record the square footage of the attic floor. Identify any signs of moisture, pests, or mold, and resolve those issues before adding new insulation.
Seal all air bypasses
Using caulk or expanding foam, seal gaps around recessed light fixtures (use appropriate fire-rated covers), plumbing penetrations, top plates of interior walls, attic hatch perimeters, and any wiring or duct penetrations. This step is non-negotiable - insulation performs far below its rated R-value when air can move freely around it.
Install rafter baffles at eaves
Staple cardboard or foam baffles between each rafter bay at the eaves, running from the soffit vent to at least 12 inches above the top plate. These keep your soffit vents clear so cold outside air can flow in, travel up under the roof deck, and exit at the ridge vent - maintaining a dry, well-ventilated attic.
Install your chosen insulation material
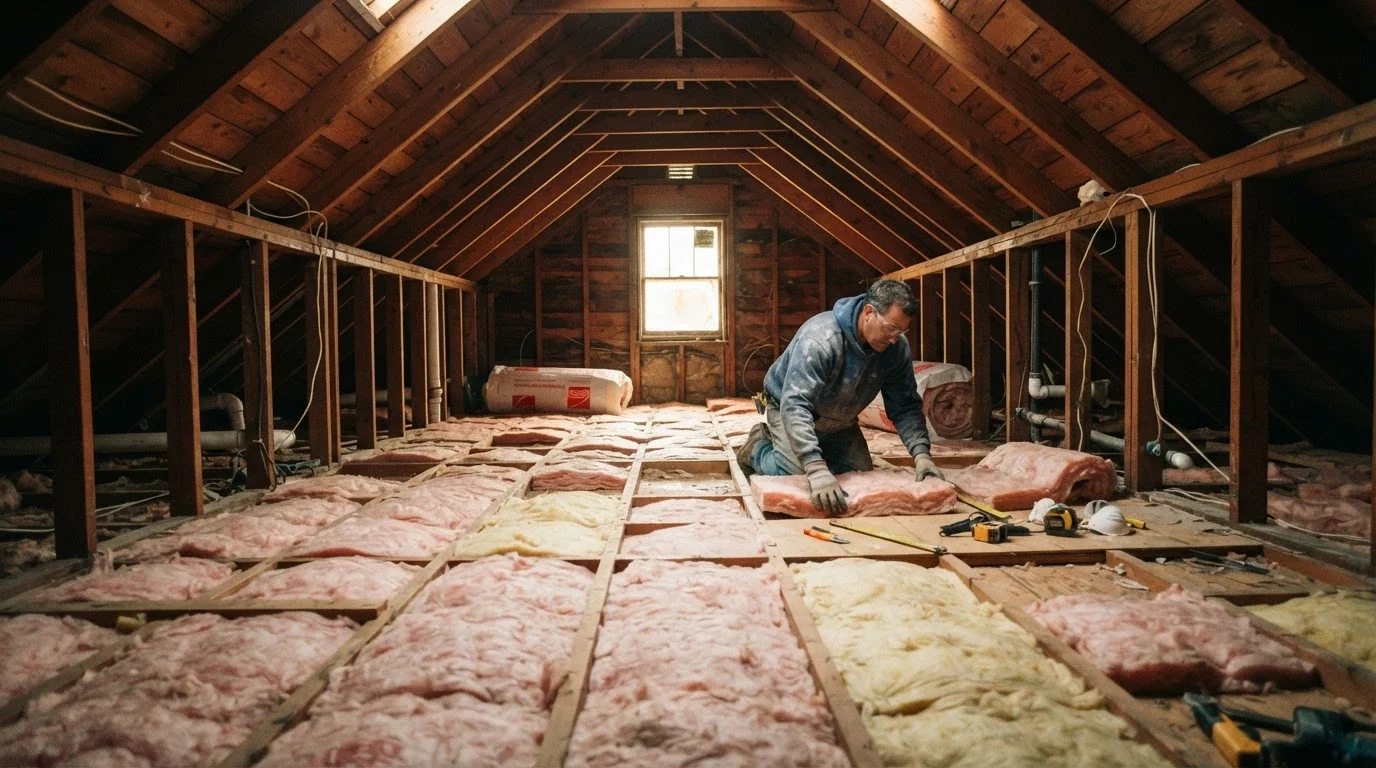
For batts, cut pieces to fit snugly between joists without compression or gaps. Do not fold or crush the material. For blown-in, set up the blower per rental instructions and work from the far end of the attic toward the access hatch, maintaining consistent depth using depth markers. Check depth periodically to hit your target R-value.
Insulate and weatherstrip the attic hatch
The attic access hatch is often the single least-insulated spot in the ceiling. Attach rigid foam board to the back of the hatch door to bring it up to a comparable R-value. Apply weatherstripping around the perimeter of the frame so the hatch seals tightly when closed.
For a broader fall weatherproofing context, see our fall home prep checklist - attic insulation pairs well with several other tasks in that guide.
Vapor Barriers, Ventilation, and Common Pitfalls
Vapor barriers - typically polyethylene sheeting - are installed to limit moisture migration into insulation. Whether you need one, and where it goes, depends on your climate. In cold climates, the vapor barrier typically goes on the warm-in-winter side (the attic floor, between living space and insulation). In hot-humid climates, placement may differ or a barrier may not be recommended at all. Incorrect vapor barrier placement can trap moisture and lead to mold. When in doubt, consult a local building professional or your state's energy office guidance.
Ventilation is equally important. Attic insulation should never block soffit vents. Rafter baffles (also called vent chutes) keep airflow channels open between the eaves and the ridge vent. Blocking this airflow can cause moisture buildup in winter and heat buildup in summer - both damaging.
Don't Block Attic Ventilation
Insulation pushed against soffit vents is one of the most common - and damaging - attic insulation errors. It traps heat and moisture under the roof deck, which can warp sheathing and lead to mold. Always install rafter baffles before adding any blown-in or batt insulation near the eaves. If your attic shows signs of existing moisture damage, have a professional assess the root cause before adding new material.
Air sealing and insulation work together as a system. For a deeper look at sealing gaps throughout your home, our guide on finding and sealing air leaks covers the most common problem areas beyond the attic.