

Key Takeaways
Leaf Chlorosis
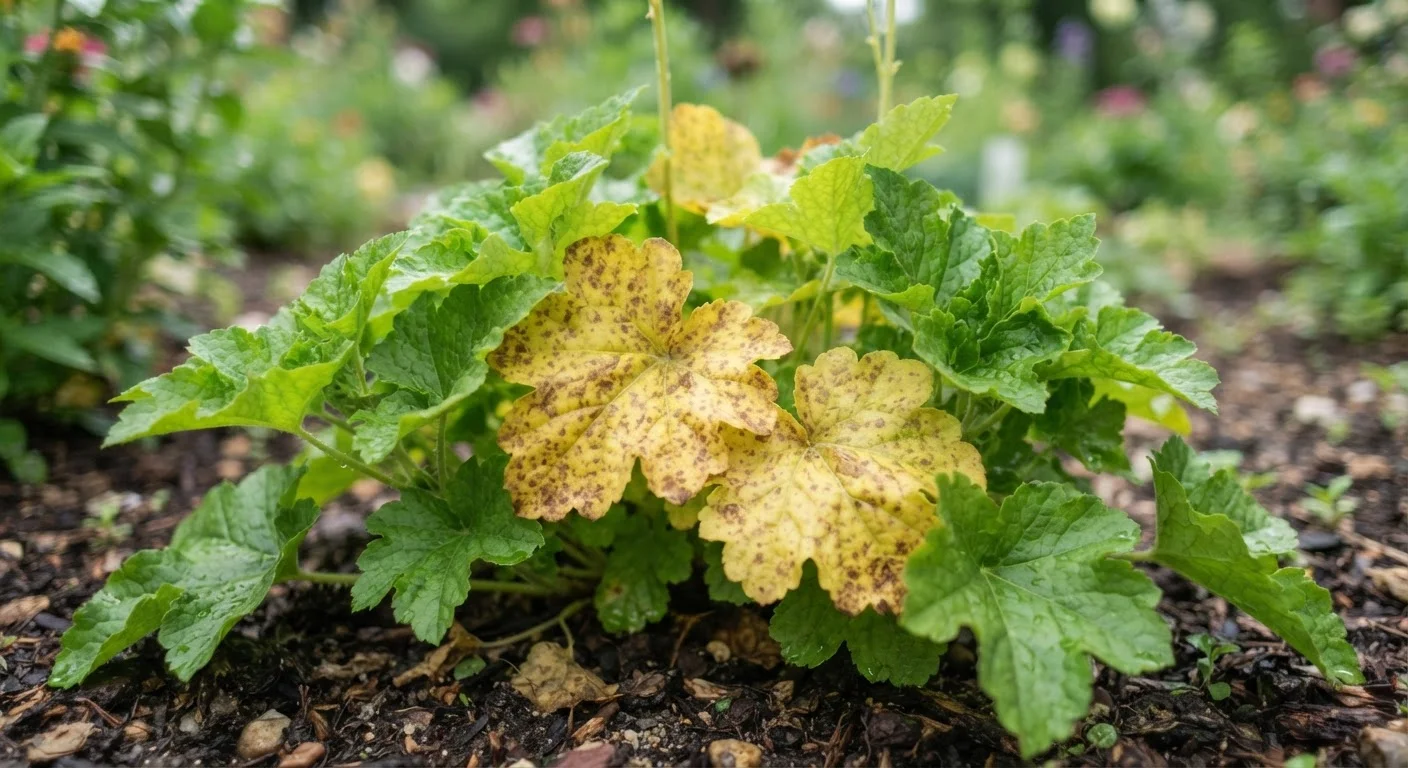
Leaf chlorosis is the technical term for yellowing leaves caused by a loss of chlorophyll - the pigment that makes plants green and powers photosynthesis. It's not a single problem but rather a symptom with multiple possible causes, including nutrient deficiencies, overwatering, disease, pests, or environmental stress. Identifying which cause is at work requires looking at the pattern, location, and timing of the yellowing.
Chlorophyll production depends on several micronutrients, particularly iron and magnesium. When soil pH is off, plants may struggle to absorb these nutrients even when they're present in adequate amounts.
Reading the Pattern: Where Yellow Appears Matters
Not all yellow leaves mean the same thing. The most useful diagnostic step is to look at where the yellowing starts and how it spreads across the plant.
Older, lower leaves yellowing first typically points to a mobile nutrient deficiency - most commonly nitrogen. Plants move mobile nutrients from older tissue to support new growth when supplies run low, so the lower leaves show the shortage first.
New growth yellowing while older leaves stay green suggests an immobile nutrient deficiency, often iron or manganese. These nutrients don't travel easily through the plant, so newer tissue suffers first when uptake is blocked - frequently due to soil pH imbalance. See our guide to soil pH and nutrient availability to understand how pH affects what roots can actually absorb.
Yellowing between the leaf veins (while the veins themselves stay green) is a classic sign of magnesium or iron deficiency, a pattern called interveinal chlorosis.
Uniform yellowing across the whole plant, especially combined with limp or soggy-feeling soil, is a strong indicator of overwatering or poor drainage rather than a nutrient issue.
Start With a Soil Test Before Amending
Before adding any fertilizer or pH amendment, invest in a simple soil test. Many county cooperative extension offices offer low-cost testing, and home test kits are widely available at garden centers. Treating the wrong deficiency - or over-amending a nutrient that's already adequate - can make plant health worse, not better.
The Big Four Causes and How to Distinguish Them
Once you've noted the yellowing pattern, consider these four common culprits:
- Nutrient deficiency: Soil test kits, available at garden centers and through many university extension programs, can identify specific shortfalls. Amending with the right material - compost for general fertility, or targeted fertilizers for specific minerals - addresses the gap without guessing.
- Overwatering or drainage problems: Stick a finger two inches into the soil. If it's still wet from the last watering, hold off. For containers, check that drainage holes are unobstructed. Consistent overwatering can also lead to root rot, which requires more aggressive intervention. Consider upgrading your irrigation system - our comparison of drip irrigation vs. sprinkler systems explains how delivery method affects root zone moisture.
- Pests: Flip leaves over and look for insects, eggs, or webbing. Spider mites leave fine webbing; aphids cluster near new growth; whiteflies scatter when disturbed. Pest-related yellowing often appears stippled or mottled rather than solid.
- Disease: Fungal and bacterial diseases often produce yellowing with accompanying spots, lesions, or wilting. Yellowing that follows a mosaic or irregular patchwork pattern can also indicate a viral infection transmitted by insects.
~40%
Of houseplant deaths attributed to overwatering
Horticultural educators and extension services commonly cite overwatering as the leading avoidable cause of both indoor and outdoor container plant decline.
5.5-7.0
Optimal soil pH range for most garden vegetables
According to university cooperative extension programs, most vegetables and flowering plants absorb nutrients most efficiently within this slightly acidic to neutral pH range.
16
Essential nutrients plants need to grow
Plant scientists recognize 16 essential elements - from macronutrients like nitrogen and phosphorus to micronutrients like iron and manganese - that must be available in soil for normal growth.
Responding Effectively: Steps to Take
Diagnosis should always precede treatment. Applying fertilizer to a plant struggling with root rot will worsen, not help, the situation. Here's a practical order of operations:
- Observe the full plant - note which leaves are affected and the exact pattern of discoloration.
- Check soil moisture - rule out overwatering before assuming a deficiency.
- Inspect for pests - examine leaf undersides, stems, and soil surface.
- Test your soil - a basic pH and nutrient test removes guesswork and points toward the right amendment.
- Amend appropriately - correct drainage, adjust pH, address pests, or supplement nutrients based on what you find.
Prevention matters, too. Plants grown in well-draining soil, fed a balanced diet of nutrients, and matched to their light and water requirements are far less likely to develop chronic yellowing. Native plants, in particular, tend to be adapted to local soil and climate conditions, often requiring less intervention to stay healthy.
If you're heading into the cooler months, addressing yellowing now also sets up a stronger growing season. Our fall garden prep checklist covers soil amendment and bed care steps that help plants recover and rebuild before winter.
“The language of plants is written in symptoms - yellowing leaves, spotted foliage, wilting stems. Learning to read those signals accurately is the foundation of sound garden management.”
— Dr. Linda Chalker-Scott, Extension Urban Horticulturist, Washington State University