

Key Takeaways
Why Composting Is Worth the Effort
Composting is one of the most practical habits a home gardener can develop. It diverts organic material from landfills, reduces the need for purchased soil amendments, and produces a finished product that improves almost any soil type. If you are starting a vegetable garden from scratch, access to homemade compost can give your soil a meaningful head start.
Compost works by harnessing naturally occurring microorganisms - bacteria, fungi, and other decomposers - that break down organic matter into a stable, nutrient-rich humus. The process requires the right balance of carbon, nitrogen, moisture, and oxygen. Once you understand those four levers, composting becomes intuitive rather than complicated.
The finished material, often called humus, feeds soil biology, improves drainage and aeration, and slowly releases nutrients in a form plants can use. Unlike synthetic fertilizers, compost builds long-term soil health - it is the same principle behind why mulching is one of the highest-return habits in gardening.
Compost bin or pile enclosure
Contains organic material, retains heat and moisture, and keeps pests from spreading scraps.
Garden fork or compost turning tool
Used to aerate and turn the pile, mixing materials and introducing oxygen to support decomposition.
Kitchen scrap collector (lidded container)
Holds food scraps on your countertop between trips to the outdoor bin.
Garden hose or watering can
Used to add moisture to the pile when it becomes too dry.
Thermometer (compost or probe style)
Measures internal pile temperature to confirm active decomposition is occurring.
Setting Up and Running Your Compost System
Before you add your first scrap, gather what you need and review any local guidelines - some municipalities have specific rules about outdoor composting structures or locations.
What you will need
Choose and set up your composting system
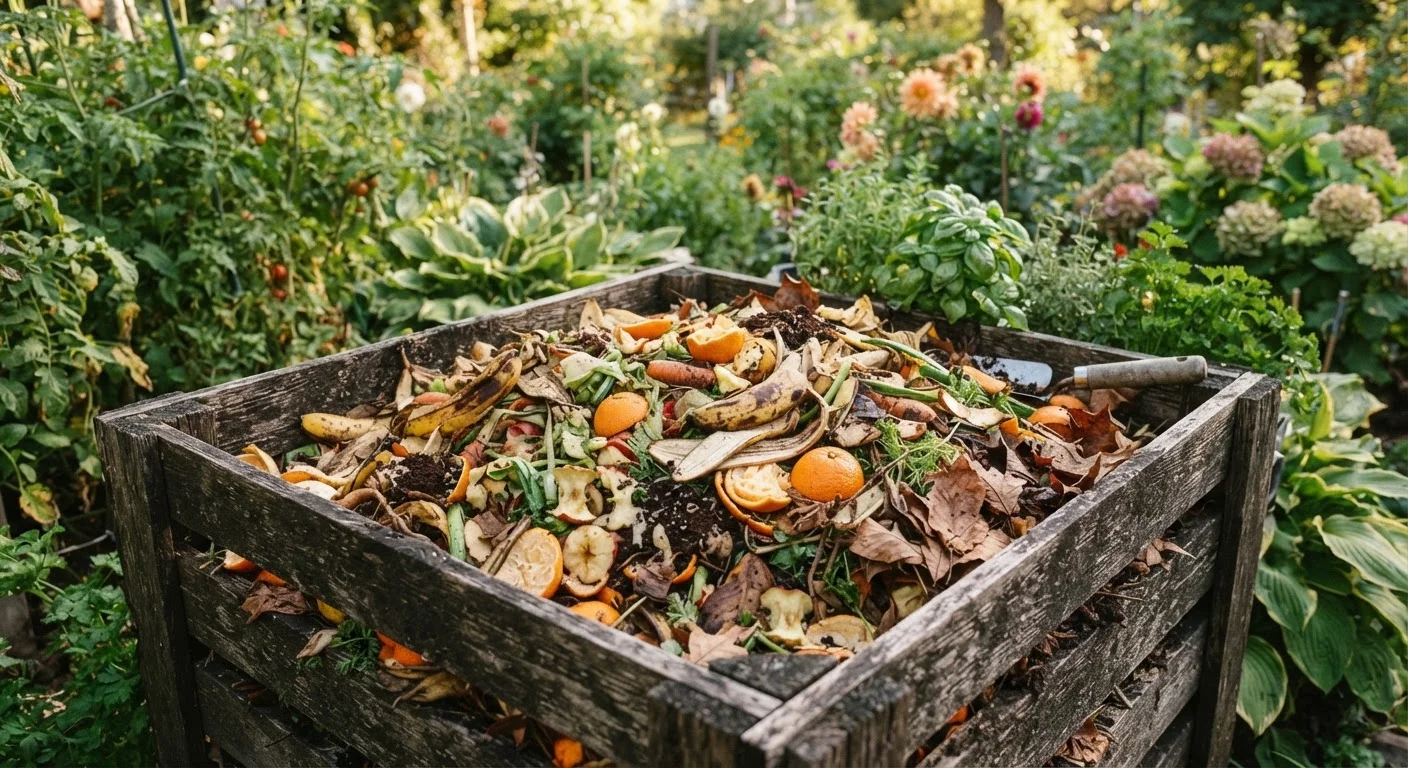
Select a spot that gets partial sun, is reasonably close to your kitchen, and has good drainage. You can compost in a simple open pile, a DIY wooden bin, or a purchased tumbler-style container. For most beginners, a three-sided enclosure made from wooden pallets or wire mesh - roughly 3 feet by 3 feet - provides enough mass to heat up while remaining manageable.
Place your bin directly on soil rather than on concrete when possible. This allows beneficial microorganisms and earthworms to enter the pile from below.
Understand your ingredients: greens and browns
Compost needs two categories of material to work properly:
- Greens (nitrogen-rich): Fruit and vegetable scraps, coffee grounds and paper filters, tea bags (remove staples), fresh grass clippings, and plant trimmings.
- Browns (carbon-rich): Dried leaves, cardboard torn into small pieces, newspaper, paper bags, straw, and wood chips.
A commonly cited starting ratio is roughly 2-3 parts browns to 1 part greens by volume. Too many greens and your pile becomes slimy and smelly; too many browns and decomposition stalls.
Layer and build your pile
Start with a 4-6 inch layer of coarse browns like twigs or straw at the base to encourage airflow. Add a layer of greens - kitchen scraps, grass clippings - then cover with another layer of browns. Continue alternating layers as material becomes available. You don't need to be perfectly precise; consistent layering simply helps you maintain a reasonable balance over time.
Maintain moisture and aeration
For decomposition to proceed, your pile needs both oxygen and moisture. Turn the pile with a garden fork every one to two weeks, moving material from the outside toward the center. This introduces fresh oxygen and distributes heat and microbial activity more evenly.
Check moisture by grabbing a handful - it should feel damp like a wrung-out sponge. Add water if it feels dry; add dry browns if it feels soggy.
Monitor progress and troubleshoot
An actively decomposing pile will feel warm in the center - sometimes noticeably hot. If your pile smells bad, it is likely too wet or has too many nitrogen-rich materials; add browns and turn it. If nothing seems to be happening after several weeks, the pile may be too dry or lacking nitrogen - add water and some fresh greens.
Finished compost is ready when the original materials are no longer recognizable, and the pile smells earthy rather than rotten - typically within two to six months depending on conditions and how often you turn it.
Harvest and use your finished compost
When your compost is ready, stop adding new material to that bin and allow it to cure for two to four additional weeks. Finished compost can be worked into garden beds 2-4 inches deep before planting, used as a top dressing around existing plants, or mixed into potting soil at roughly 20-30% by volume. It improves drainage in clay soils and water retention in sandy ones.
Never Compost These Materials
Meat, fish, bones, dairy products, and oily or greasy food scraps should never go into a standard backyard compost pile. These materials attract pests, create foul odors, and can harbor harmful pathogens. Pet waste and diseased plants should also be excluded, as standard home composting temperatures may not be high enough to neutralize all risks.
Watch Your Pile's Moisture Level
A compost pile that is too wet will become slimy and anaerobic, producing an unpleasant odor. One that is too dry will stall decomposition entirely. Aim for the moisture level of a wrung-out sponge - damp throughout but not dripping. Cover your pile during heavy rain to prevent waterlogging.
Speed Up Decomposition Naturally
Chop or shred your kitchen scraps and garden waste into smaller pieces before adding them to the pile. Smaller particle sizes dramatically increase surface area, giving microorganisms more to work with and cutting weeks off your composting timeline. A simple pair of kitchen shears works well for most scraps.
Once you are harvesting finished compost regularly, consider how it fits into your broader garden calendar. Adding compost in fall, for example, gives it time to integrate before spring planting - a strategy that pairs naturally with fall garden prep tasks that pay off next spring. And if you are planning raised beds, knowing you have a supply of homemade compost on hand can change how you approach the cost and logistics discussed in raised beds vs. in-ground planting.