

Key Takeaways
Why Overseeding Works - and When It Makes Sense
A thin or patchy lawn isn't necessarily a sign of failure - it's a normal result of turf aging, heavy foot traffic, summer heat stress, or disease. Overseeding is the practice of spreading new grass seed directly over existing turf to fill gaps and restore density, without the cost or disruption of tearing everything out and starting over.
Done correctly, overseeding thickens existing grass, crowds out opportunistic weeds, and improves your lawn's ability to recover from future stress. It works best when the existing turf is thinning but not completely dead - a lawn with less than 50% live grass coverage may be better served by renovation rather than overseeding.
The keys to success are timing, seed selection, and soil preparation. Each of these factors compounds the others: even high-quality seed fails if the timing is wrong or the seeds can't reach the soil.
What you will need
Tools and Materials You'll Need
Having the right equipment before you start makes the process smoother and significantly improves results. For smaller lawns under 2,000 square feet, many of these tools can be borrowed or rented rather than purchased. For larger properties, investing in or renting a power dethatcher and a quality spreader pays off in better coverage and time saved.
Broadcast or Drop Spreader
Distributes grass seed evenly across the lawn to avoid clumping and bare zones.
Dethatching Rake or Power Dethatcher
Removes the layer of dead organic matter that blocks seeds from reaching soil.
Lawn Mower with Bag Attachment
Cuts existing grass short before overseeding to reduce competition for light.
Starter Fertilizer
Provides phosphorus and nutrients that support root development in new seedlings.
Garden Rake
Lightly scratches soil surface to improve seed-to-soil contact after spreading.
Lawn Roller
Presses seed into the soil surface to improve germination rates, especially on slopes.
Step-by-Step: How to Overseed a Thin Lawn
Follow these steps in order. Skipping preparation steps - especially dethatching and soil loosening - is the most common reason overseeding produces disappointing results. The actual seed-spreading takes only a fraction of the total time; the prep work is where the outcome is determined.
Do Not Apply Pre-Emergent Herbicide Before Overseeding
Pre-emergent herbicides prevent seeds from germinating - including the grass seed you're trying to establish. If you applied a pre-emergent earlier in the season, check the product's label for re-seeding intervals before proceeding. Applying seed too soon after a pre-emergent is one of the most common and costly overseeding mistakes.
Choose the right time to overseed
Timing your overseeding correctly is the single most important factor in success. For cool-season grasses (such as Kentucky bluegrass, fescue, or ryegrass), the ideal window is late August through mid-October, when soil is still warm from summer but air temperatures are cooling. For warm-season grasses (such as Bermuda or zoysia), overseed in late spring once soil temperatures consistently reach 65-70°F.
Avoid overseeding immediately before or during extreme heat, drought, or frost, as germinating seedlings have almost no tolerance for temperature stress.
Select seed that matches your existing lawn
Using a seed variety that's incompatible with your existing turf is a fast path to a lawn that looks mismatched. Identify your current grass type - your local cooperative extension office or a nearby garden center can often help if you're unsure. Then choose a seed that is either the same species or a compatible blend.
Pay attention to sun exposure: a shady area needs a shade-tolerant cultivar, even if the rest of your lawn grows a sun-loving variety. Also check the seed tag for germination percentage and weed seed content - both are regulated and printed on the label. For additional context on weighing seeding options, see grass seed vs. sod trade-offs.
Mow low and remove clippings
Before seeding, mow your existing lawn to roughly 1.5 to 2 inches - shorter than your usual mowing height. This reduces competition for sunlight from the existing grass and improves access for seed to reach the soil surface. Bag the clippings rather than mulching them, so they don't form a barrier over the soil.
Dethatch and loosen the soil surface
Thatch - the layer of dead stems, roots, and debris between the grass blades and soil - blocks seeds from making contact with the earth. Use a dethatching rake for small areas or a power dethatcher for larger lawns. Aim to expose some bare soil without aggressively tearing up healthy root systems.
After dethatching, use a garden rake to lightly scratch the soil surface in patchy or thin areas. This small step dramatically improves germination by giving seeds a textured surface to settle into.
Spread seed at the correct overseeding rate
Overseeding uses a lower seeding rate than a bare-ground installation - typically half the rate specified on the seed label for new lawns. Applying too much seed leads to overcrowding and poor germination as seedlings compete for limited resources.
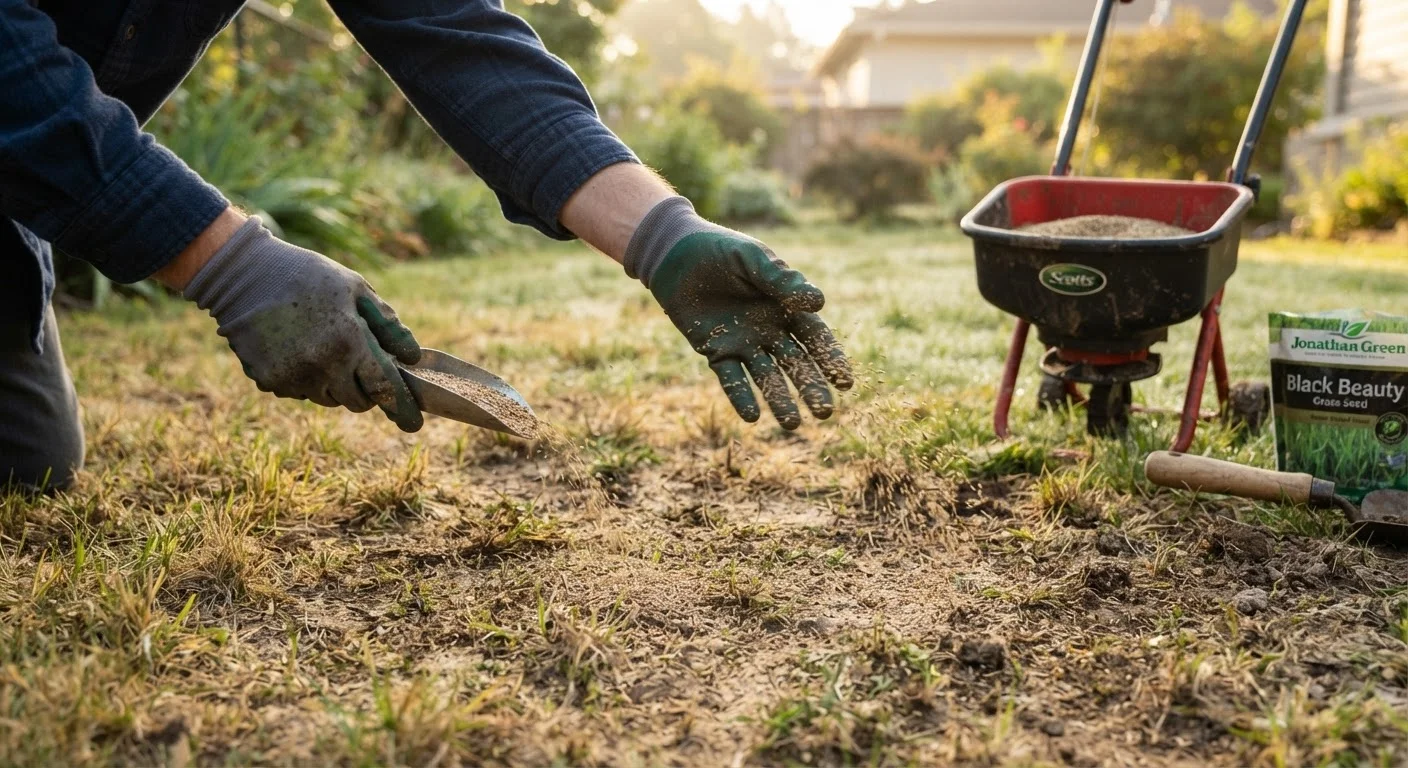
Load your spreader and make two passes in perpendicular directions to ensure even coverage. Pay extra attention to thin or bare patches, applying slightly more seed there while keeping a light hand elsewhere.
Apply starter fertilizer
Starter fertilizers are formulated with higher phosphorus content to support root development in germinating seedlings. Apply immediately after seeding, following the product label's rate instructions. Avoid using standard lawn fertilizers at this stage, as their nitrogen concentration can burn fragile new roots.
Water consistently until seedlings establish
Begin watering immediately after seeding. Keep the top inch of soil consistently moist - never waterlogged - for the first two to three weeks. As seedlings emerge and grow, gradually transition to deeper, less frequent watering sessions to encourage roots to grow downward.
Avoid allowing the seeded areas to dry out completely during germination; even a single dry day can kill seedlings that haven't yet developed functional root systems.
Resume mowing only when new grass is ready
Hold off on mowing until the new grass seedlings have reached approximately 3 to 3.5 inches in height - typically three to four weeks after germination, depending on the grass type and weather. When you do mow, raise the blade to its highest setting for the first two cuts to avoid stressing young plants. Foot traffic should also be minimized during this period.
Aftercare: Protecting Your Investment Through the First Season
Once your new grass has germinated and you've resumed regular mowing, the work isn't quite finished. For the remainder of the growing season, continue watering deeply but infrequently - typically one inch of water per week from rainfall or irrigation. Avoid applying broadleaf herbicides until the new grass has been mowed at least three times, as most herbicides will damage seedlings.
If bare patches remain after the initial overseeding, a second light application of seed to those specific areas can be done within the same season if timing still permits. Over time, a well-overseeded lawn becomes denser and more resilient - better at outcompeting weeds and recovering from summer stress on its own.
Water Smarter During Germination
New seeds need moisture, not saturation. Water lightly two to three times per day during the first week to keep the top inch of soil consistently moist. Once seedlings are visible, you can reduce frequency and water more deeply. For a deeper look at how much and how often to water your lawn, see common lawn watering myths.