

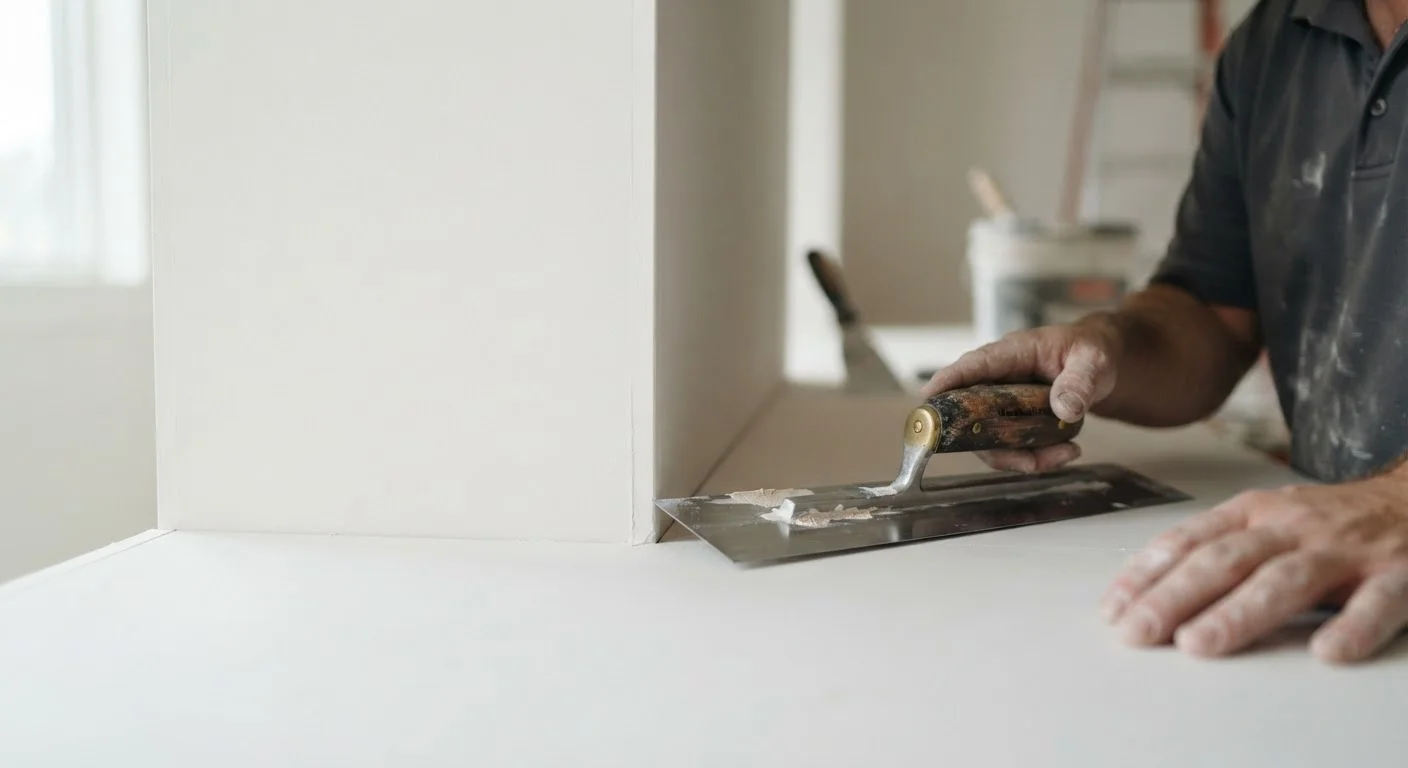
What Are Drywall Finishing Levels?
When drywall contractors and inspectors talk about finish quality, they use a standardized numbering system developed by the major industry trade associations - the Gypsum Association, the Association of the Wall and Ceiling Industry, and the Painting and Decorating Contractors of America. This system defines six distinct levels, numbered 0 through 5, each describing how completely the drywall surface has been prepared.
The level you choose determines what your wall is ready for: bare framing, primer, flat paint, semi-gloss enamel, or architectural-grade decorative finishes. Selecting the wrong level - typically too low - is one of the most common reasons amateur drywall jobs look rough after painting, even when the paint itself is applied flawlessly.
The Six Levels Explained
Here is what each level involves and where it is typically specified:
Level 0
No finishing whatsoever. Drywall is hung but joints, screws, and seams are left completely exposed. Used in temporary construction or where final decisions about finishing haven't been made yet.
Level 1
A single coat of joint compound is applied to taped seams and interior angles. Tape is embedded but tool marks and ridges are acceptable. Specified in concealed areas like attic spaces, plenum ceilings above suspended ceiling tiles, and service corridors - places no one will see.
Level 2
One coat over tape plus a separate skim coat over screw heads and beads. Surface may still show tool marks. Appropriate for areas that will receive tile or heavy wall texture, where the drywall surface itself is largely concealed.
Level 3
Two coats of compound over tape and one coat over accessories, then sanded smooth. This is the baseline for walls that will receive heavy texture (skip trowel, orange peel) before painting. Not appropriate for smooth paint finishes - imperfections will telegraph through.
Level 4
Three coats over tape, two over accessories, sanded to a uniform surface. This is the standard for most residential painting - flat, eggshell, or low-luster finishes in living areas, bedrooms, and kitchens. The overwhelming majority of new home construction in the U.S. is finished to Level 4.
Level 5
Everything in Level 4, plus a thin skim coat of compound or a specialized primer-surfacer applied over the entire surface. This is the specification for walls receiving gloss or semi-gloss paint, critical lighting environments, or high-end decorative finishes where any surface irregularity would be visible. It's more labor-intensive and costly, but it produces a genuinely flat, blemish-free surface.
Joint compound
A plaster-like material (also called mud) used to fill, coat, and smooth drywall seams, screw holes, and corner beads. It dries by evaporation and is typically applied in multiple thin coats.
Skim coat
A very thin, uniform layer of joint compound applied over an entire wall surface to fill microscopic texture and produce a perfectly smooth finish. Required at Level 5.
Corner bead
A metal or plastic strip applied to outside drywall corners to protect the edge and create a straight, crisp line. Beads are coated with joint compound as part of the finishing process.
Raking light
Light that strikes a wall surface at a shallow angle, making surface imperfections like ridges and depressions highly visible. Rooms with raking light typically require a higher finish level.
Primer-surfacer
A high-build primer product used at Level 5 that fills minor surface irregularities while priming the drywall for paint. It creates a more uniform sheen and improves paint adhesion.
Why the Right Level Matters Before You Paint
Paint does not hide drywall imperfections - it amplifies them. This is especially true in rooms with raking light (light that skims along the wall at a low angle, such as near windows or under recessed fixtures). A Level 3 finish painted with a semi-gloss sheen in a bathroom lit by a single side-mounted sconce will show every ridge and hollow. A Level 5 finish in the same room will look seamless.
There is also a practical cost-versus-value calculation to consider. Upgrading from Level 4 to Level 5 adds skilled labor and material cost, so it makes sense to specify it selectively - in entry foyers, powder rooms, formal dining rooms, or any space with dramatic lighting - rather than throughout an entire house. For utility rooms, garages, or rooms that will receive heavy texture regardless, a lower level is entirely appropriate and saves money without any visual downside.
When working with a drywall contractor, ask them to specify the finish level in the written scope of work before any job begins. This single conversation prevents by far the most common disagreements about finish quality at project completion.
This article is for general informational and educational purposes only. Always consult a licensed contractor to evaluate the specific requirements of your home and local building codes before beginning any renovation work.